1000+

Reviews!
1000+
Reviews!
SAVE THE DATES
WEDDING INVITATIONS
THANK YOU CARDS
EXTRAS
DEPOSIT
BLOG
LOGIN
CONTACT US
SAVE THE DATES
WEDDING INVITATIONS
THANK YOU CARDS
EXTRAS
DEPOSIT
BLOG
LOGIN
CONTACT US
Interested in ordering
vellum overlays?
vellum overlays?
Let's get started!
Note: All links on this page open in a new tab so you can keep checking back here as a reference
Our vellum overlay invitations are really just one sided invitations on an upgraded paper. Start by selecting "One Sided Invitations" from our home page (or just click the shortcut here).
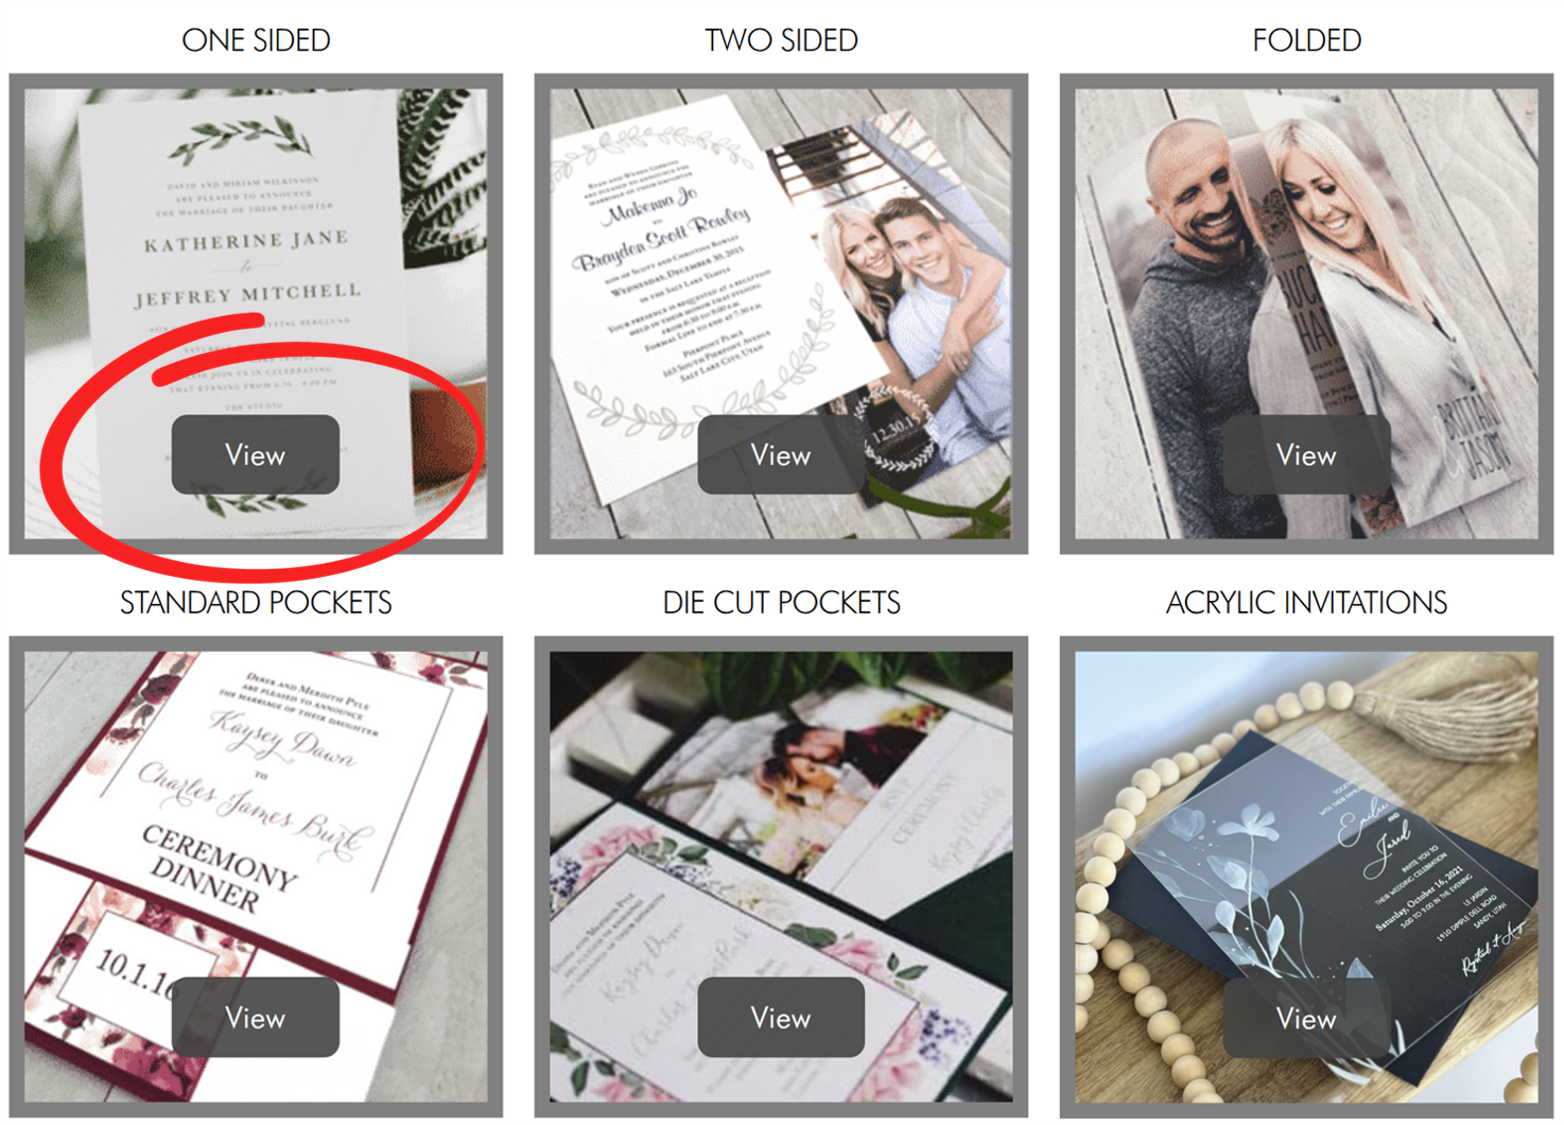
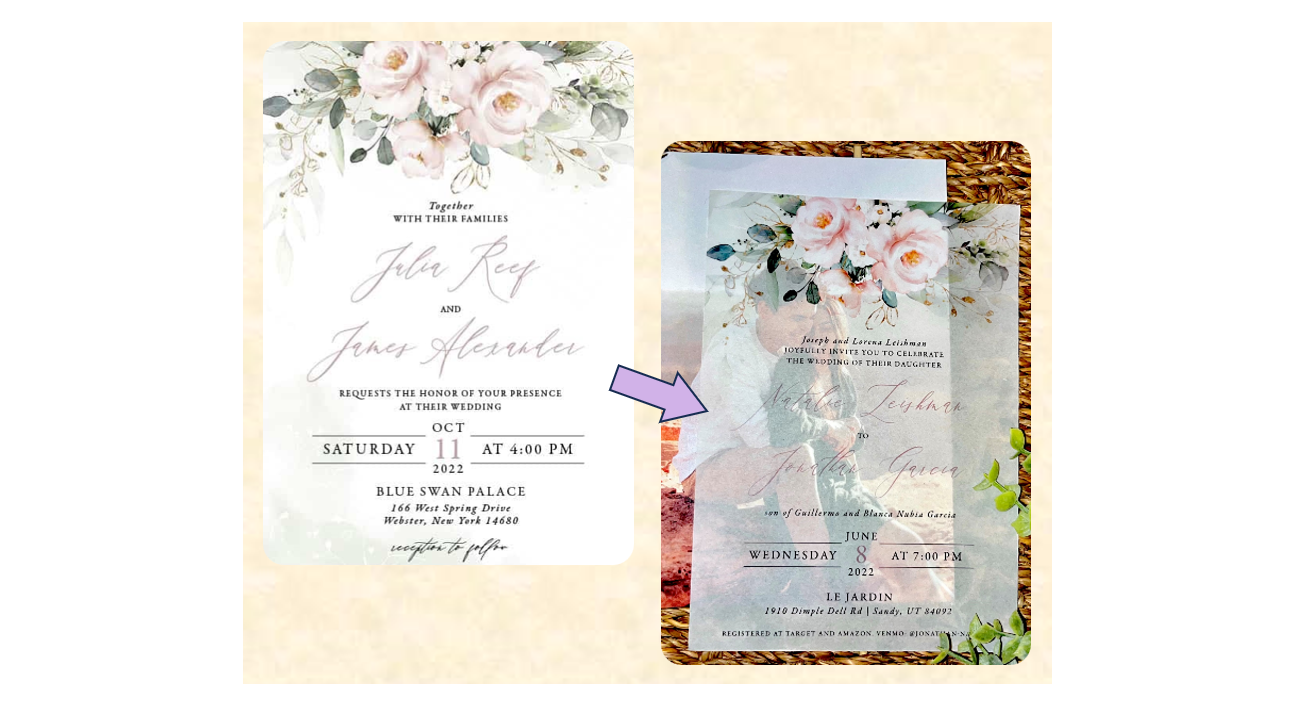
There are many different one sided invitation templates to choose from, but keep in mind that not all of them work as well for a Vellum Invitation. Remember that you vellum invitation will be semi-transparent (see image below of a template compared to a final product). Scroll down to see all of your options and then select your favorite design (or if you prefer you can use the "Upload Your Own Design" option to send us your own creation or a picture of something that you saw online). Once you have selected an option a box that says "NEXT" should appear. Click that and it will take you to the next step.
Find the "Choose Your Paper" drop down menu and select the "Translucent Vellum" option.

Fill out the other details for your invitations by choosing a quantity and the style of envelopes and then be sure to leave any notes for your designer about key information for your invitation.

Upload any images, pdfs, etc. that will help your designer set up your invitations just right.

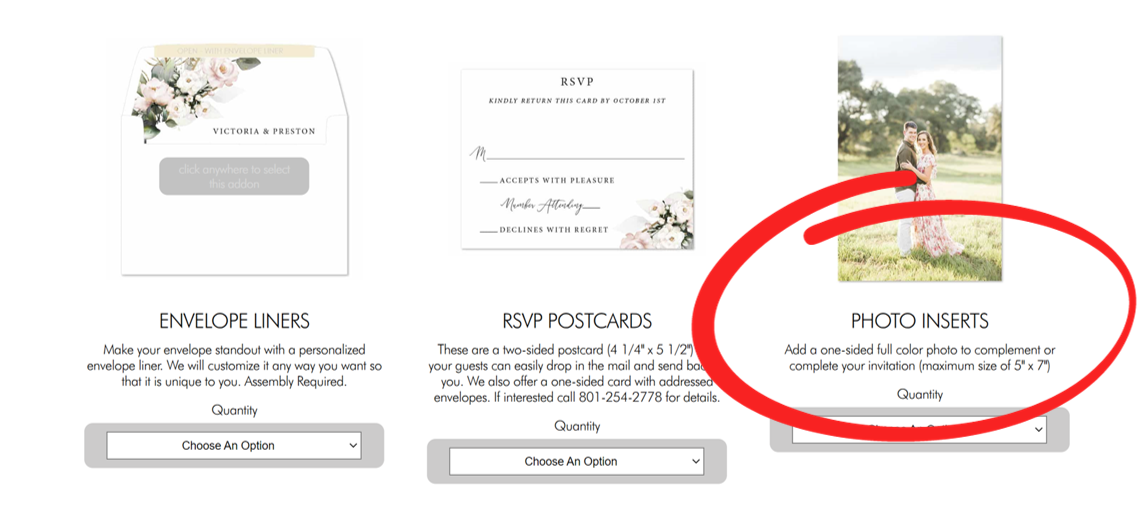
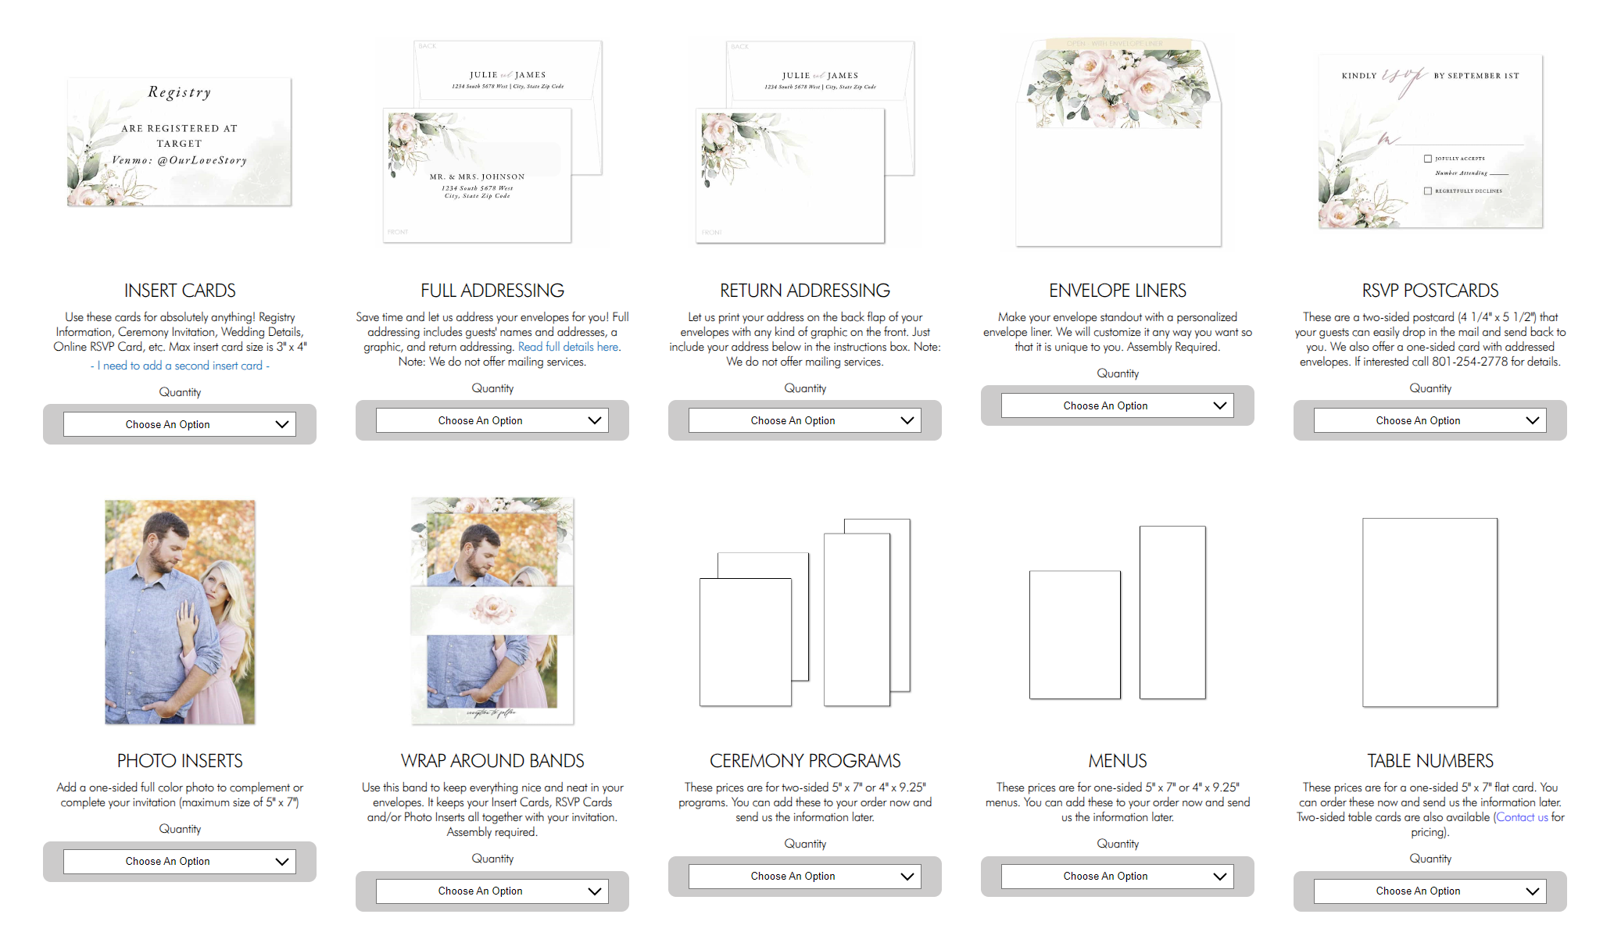
You'll now find yourself on a page that says "Frequently Bought Together". Find and select the "Photo Inserts" option and choose a quantity to match the amount of invitations you ordered. Of course you don't have to order photo inserts with your vellum invitations. It's the most common choice, but feel free to skip this step if it doesn't apply to you! NOTE - Be sure that you don't select "Translucent Vellum" for the paper type of your photo inserts, otherwise they will be printed on vellum too!
While you're at it, pick up a few other add ons! A wrap around band looks great with a vellum overlay and a photo insert, and of course everyone loves saving time and making their envelopes stand out with envelope addressing.
Once your ready to move on be sure to take some time to look over our design process, there is some important information there! You won't be able to move forward with your order until you accept the terms.

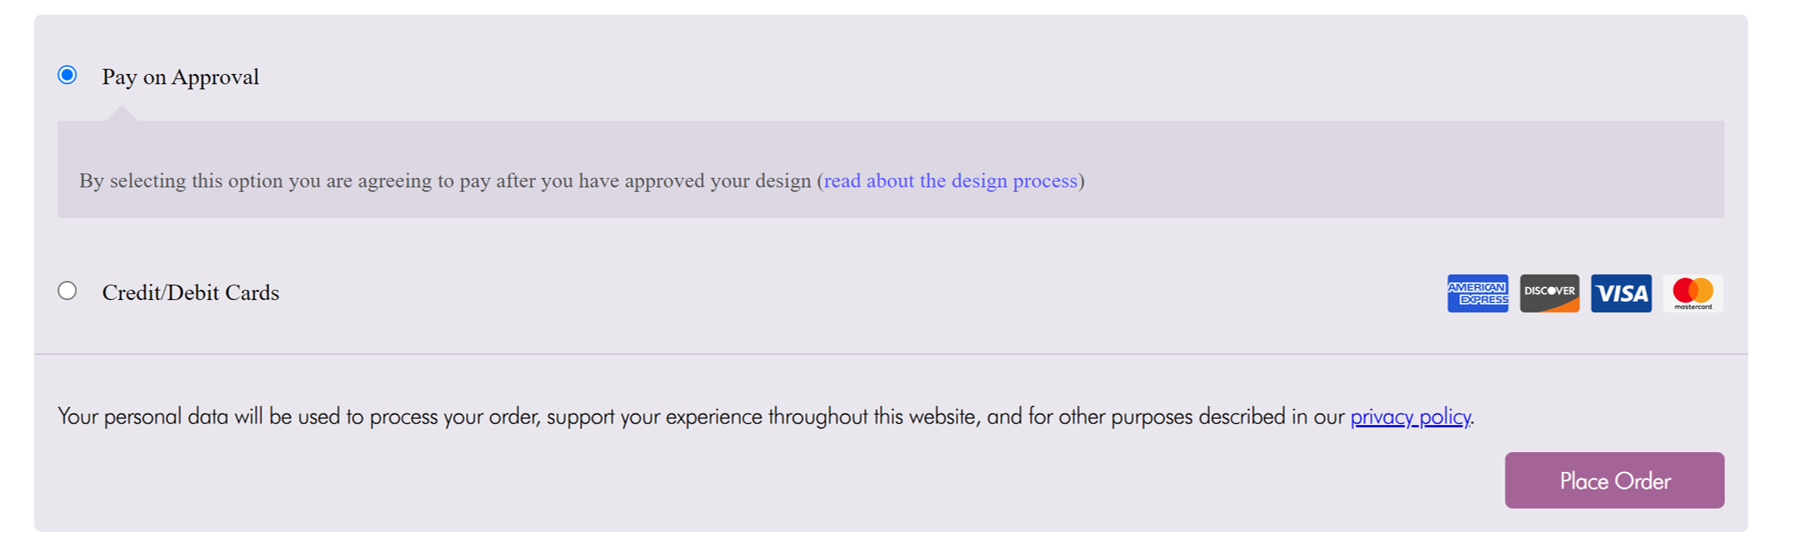
You'll now find yourself on the checkout page. Enter your billing information and any additional notes about your order. There are two different payment options - "Pay on Approval" or "Credit/Debit Cards". Most people prefer to wait and pay their balance after the invitations have been designed and they have given final approval to print. Select one then place your order.
You should get an email confirming your order and at the same time an email will be sent to our designers with all of your order information. Sit back and relax! We will be sending you your intitial design within 1-2 business days.
Questions?
We are here for you! Reach out and we will walk you through the process!


